Dormitories Connection (802.1x)
-Windows 8.1-
![]()
| Notes |
| Authentication account - authentication is with a
HUJI connection account: username%ra. If you haven't got an account, register at : http://rap.huji.ac.il. You can access it from the HUJI-guest wireless network. |
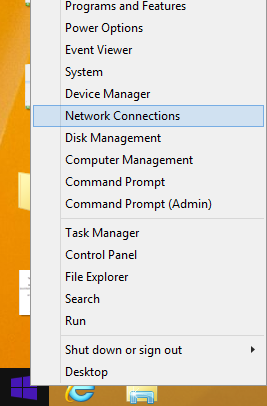
| Step |
|
|
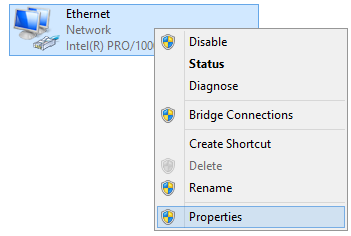
| Step |
|
|
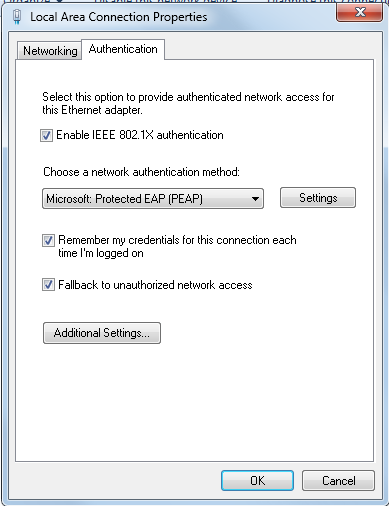
| Step |
|
|
| Step |
|
|

| Step |
|
|
| Step |
|
|
| Step |
|
|
| Step |
|
|
|
| Step |
|
|
| Step |
|
|
| Step |
|
|

| Step |
|
|
If you need further help you may contact our support centers: 02-6585555, 02-5883450. Last modified: 06/11/2017
|